New to add to design system – 1

Presentations

WOW your audience

Websites

Design stunning creations in minutes

Photo Albums

Immortalize your memories

Blogs

Share your thoughts and stories with the world

eCards

Great for any of life's moments

Training

Drive personal and professional growth

Digital Business Cards

Discover the future of networking

Surveys

Start collecting valuable responses

Automaze

Create beautiful content instantly

Sales Teams

Increase funnel conversions and deal closures​

Libraries & Academic Institutions

Boost library reach and simplify creation for users

Education

Transform Educational Experiences ​​

Coming Soon​

Blog

Explore articles and valuable insights

Discover a treasure trove of inspiration

All the answers you need at your fingertips

Analytics

Discover the power of insights

Forms

Get the information you need

Collaboration

Connect, create, and reach new heights together

Groups & Custom Dashboard​

Simplify content sharing

Digital Asset Manager

Easily ensure brand consistency across all projects

Group Share emaze Creations With a Custom Dashboard

Simplify content sharing with Groups and manage it all on your custom dashboard

Custom Dashboard

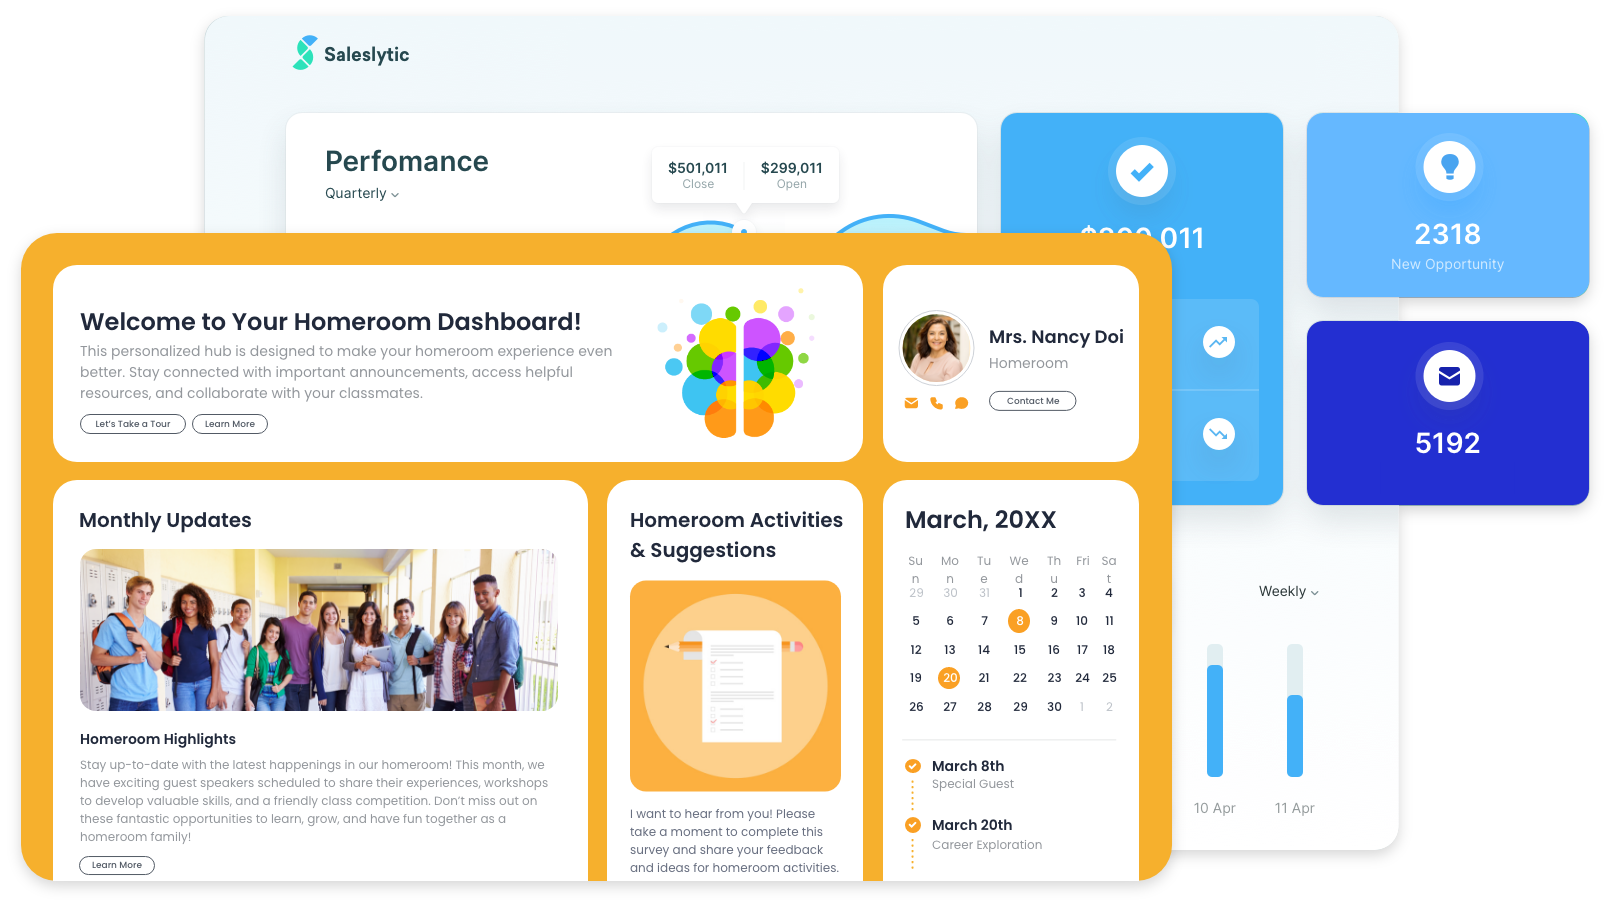
A custom dashboard for every Group you create

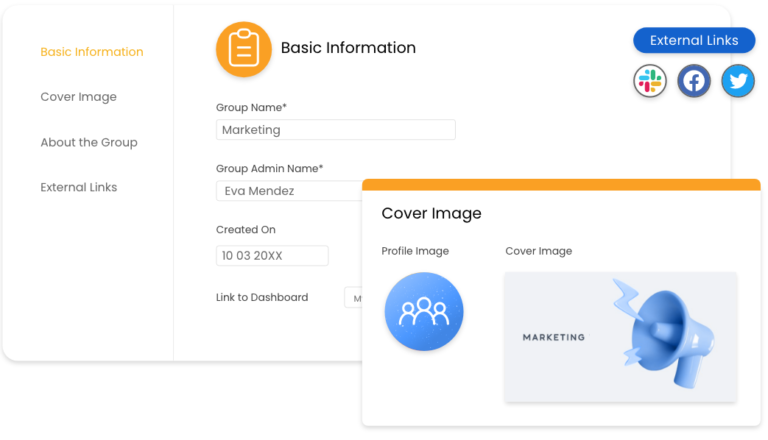
Group Settings

Tailor your Groups to perfection

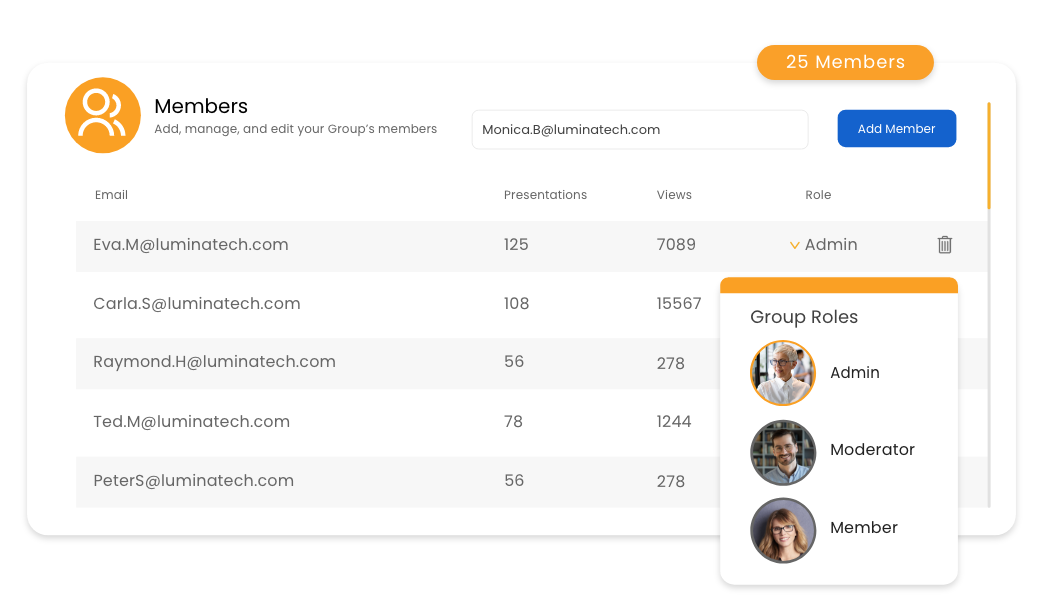
Group Roles

Set Group roles and permissions to improve order and productivity

*Groups is a premium feature that is available with select plans. Visit our pricing page to learn more*

How It Works

How to create and share content with Groups

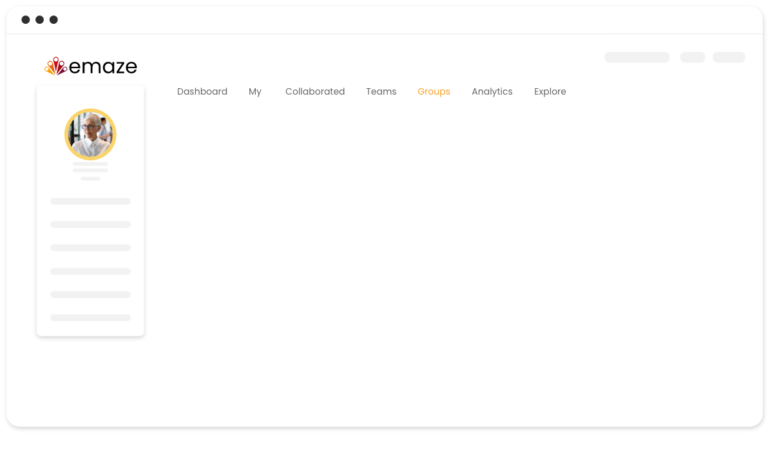
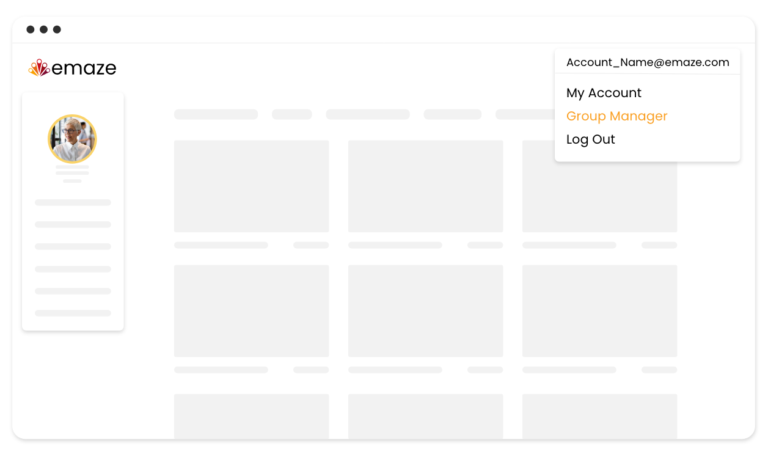
Hover over your account name and click on “Group Manager”
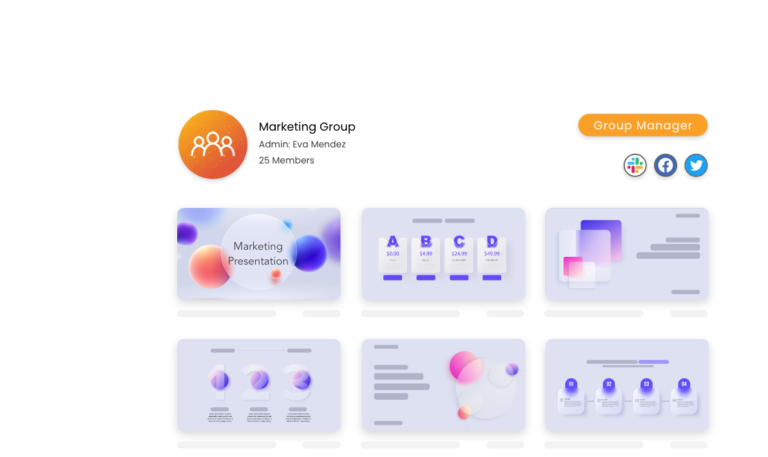
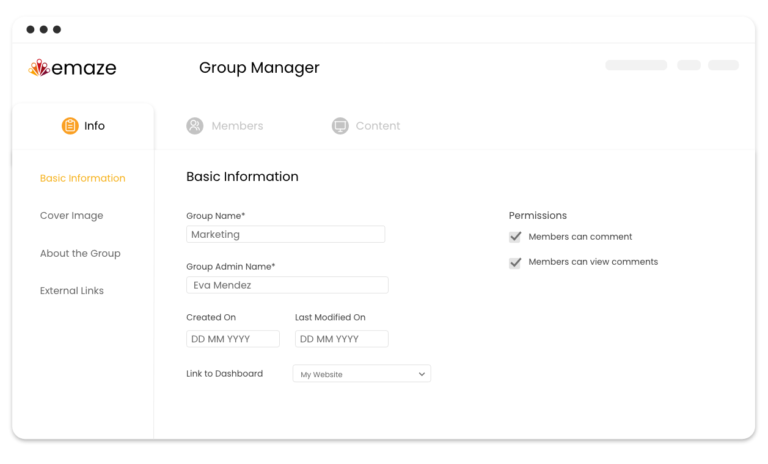
Hit “Create New Group” and fill in the necessary details, including the group name, admin name, and permissions
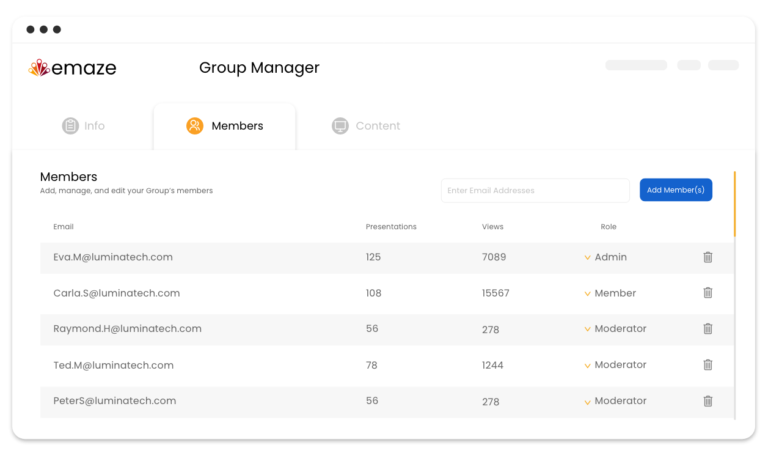
Go to the ”Members” tab, add members, and assign specific group roles to each
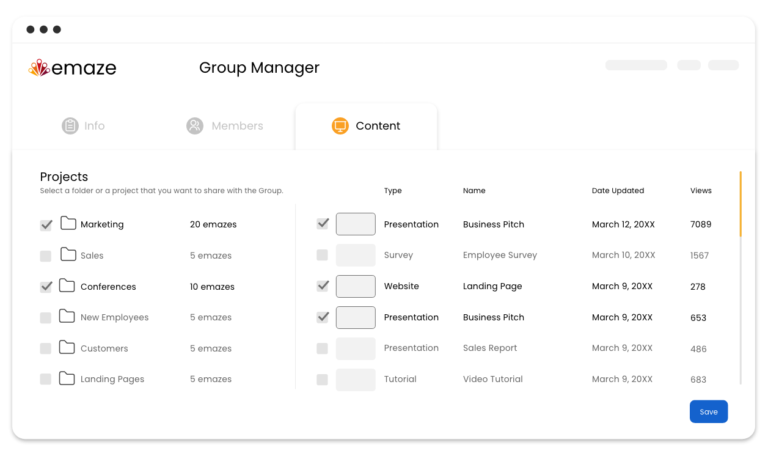
Share content by selecting the files that you want from the “Content” tab and clicking “Save”

How It Works

How to create and share content with Groups

Step 1
How it Works groups 1

Hover over your account name and click on “Group Manager”

Step 2
How it Works groups – 2

Hit “Create New Group” and fill in the necessary details, including the group name, admin name, and permissions

Step 3
How it Works groups – 3

Go to the ”Members” tab, add members, and assign specific group roles to each

Step 4
How it Works groups – 4

Share content by selecting the files that you want from the “Content” tab and clicking “Save”

Frequently Asked Questions

What can I share with an emaze Group?

You can share various types of content within an emaze Group, whether it’s engaging presentations, interactive websites, informative blogs, or charming eCards! Moreover, it’s not just limited to individual items—you can conveniently share entire folders that you’ve already curated. All the content that you share will be readily accessible and neatly organized within your custom dashboard.

How many Groups can I create?

With many of our plans, you have the flexibility to create an unlimited number of both Open and Closed Groups. Open Groups can be joined freely, while Closed Groups require an emaze account to access them. To find out more about the specific features and limitations of each plan, please visit our pricing page for detailed information.

How do I create a new custom dashboard?

It’s easy! To create a new dashboard, simply create a Group by filling in the required details, adding members, and then sharing the relevant content to them. Once you’ve completed these steps, you can access your newly created dashboard by hovering over the “Dashboard” menu option (located on the left), and selecting the one that you wish to explore. 

What options do I have for customizing my Groups?

The possibilities are endless! Along with selecting a unique group name, you have the option to personalize the profile image, cover image, group information, and more. These customization features allow you to truly reflect your preferences and desired aesthetic. Let your imagination run wild!